How to set up multiple email addresses from a single Gmail account
A few years ago I stumbled across a way to set up multiple email accounts (called "aliases") from a single Google Workspace account (I can't remember where, unfortunately).
Yesterday, I mentioned this method on Twitter, which prompted a few people to ask how it works, so here is a guide to get it working.
Once you've set up Gmail in Google Workspace on a custom domain, you can add any number of other email address aliases to work through the same account.
You can send and receive email from those individual accounts as if you are sending from individual accounts.
And it works in every email client I've tried so far, not just Gmail's apps.
In effect, I'm paying €5/month for unlimited custom email addresses.
The only caveat is that everything runs through the same Gmail account. If you want to have different "inboxes" for your different email addresses, you will need to set up filters to organise emails from your different addresses into different folders.
Here are the steps to get it working.
Add a domain alias
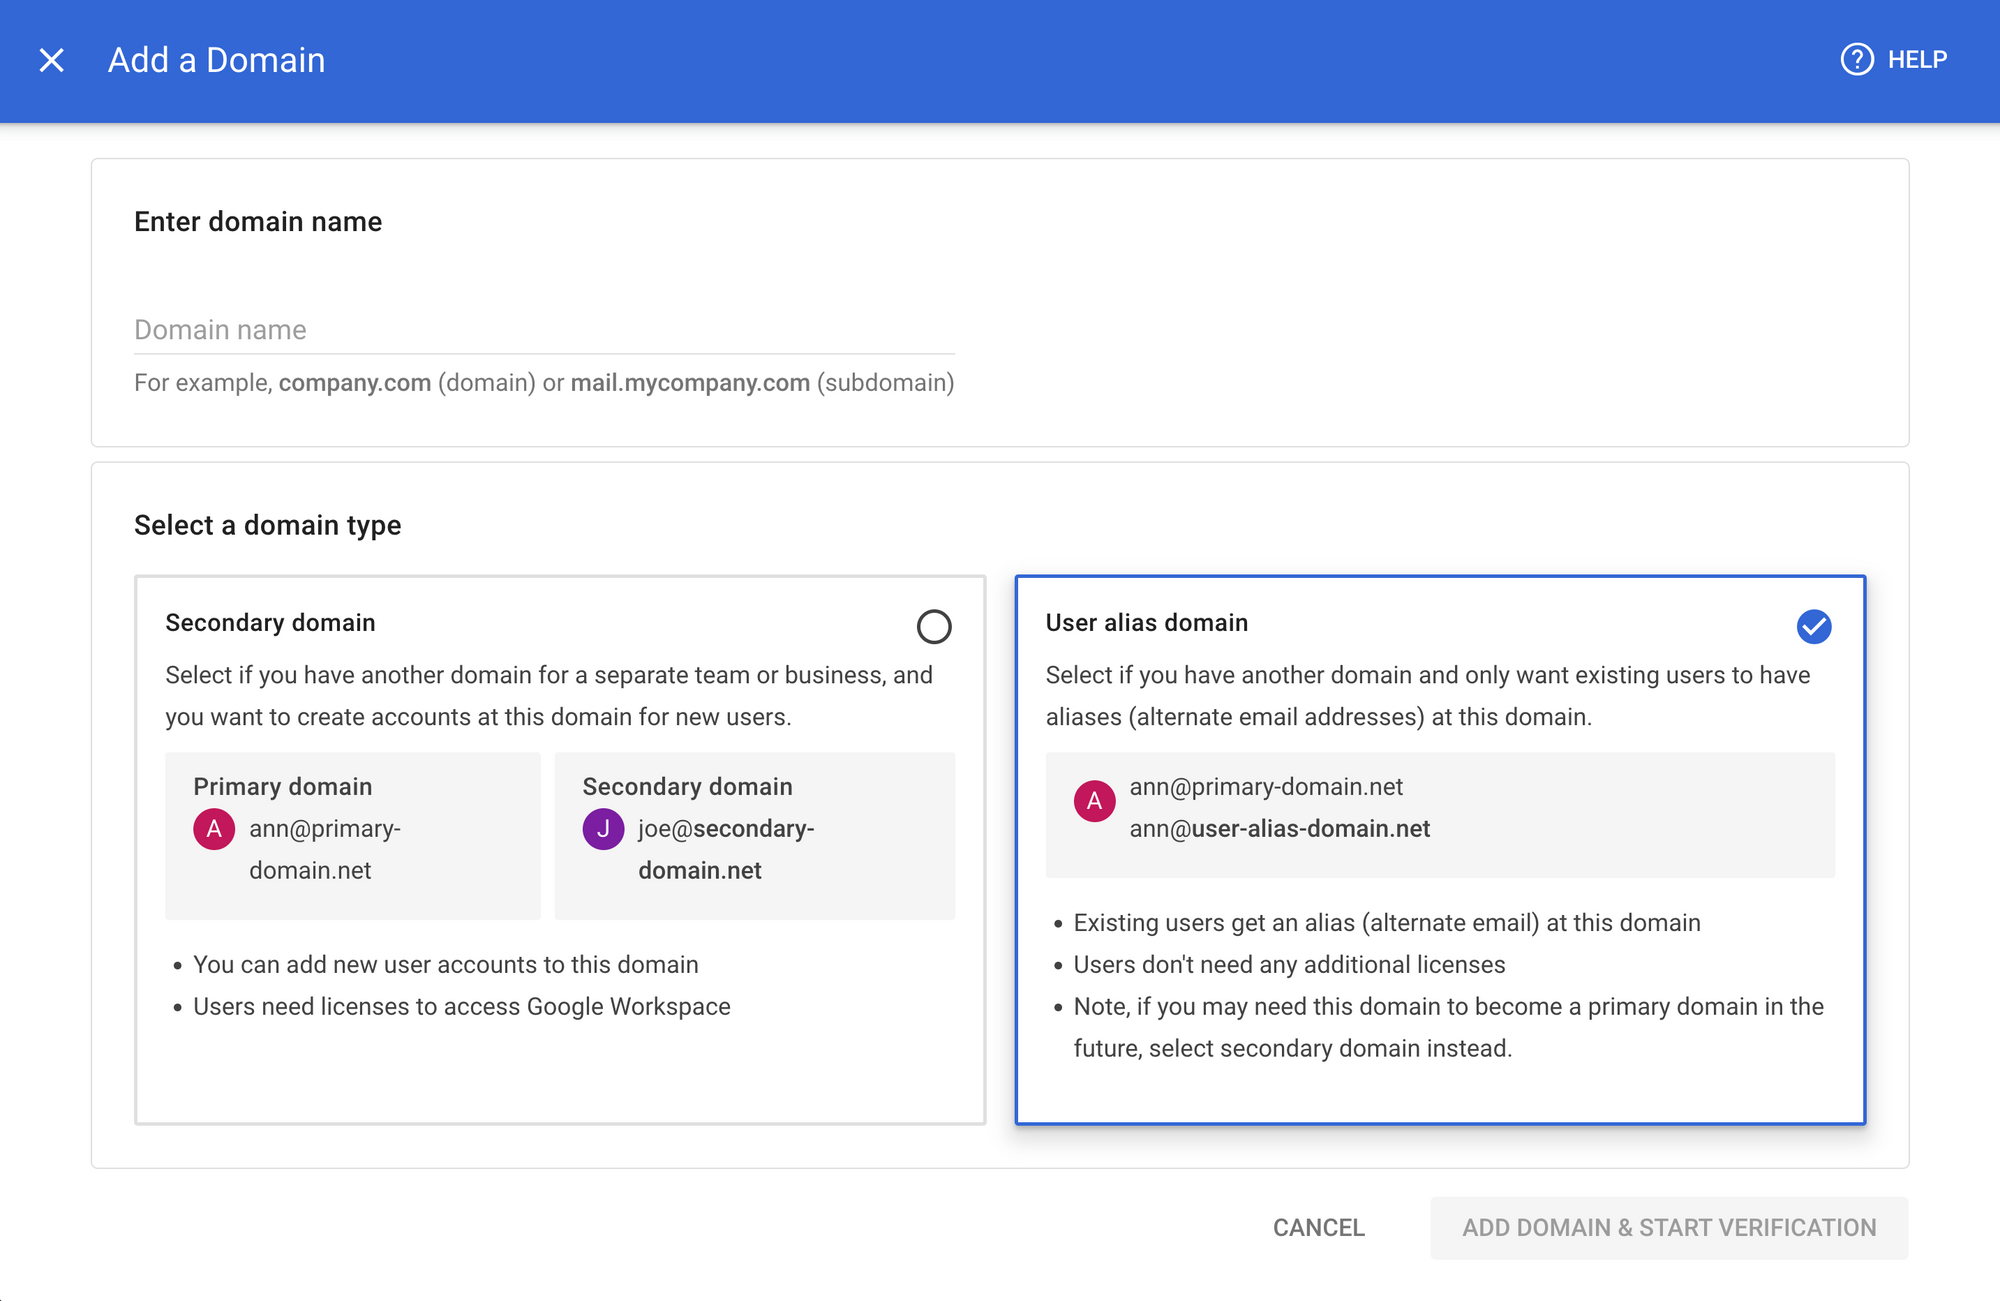
Go to Google Workspace settings and add a new domain alias.
You can do this from this link:
https://admin.google.com/ac/domains/manage
Select the "User alias domain" option.
Follow the instructions to add DNS records so that Google can connect to your domain.
Change a setting on your domain
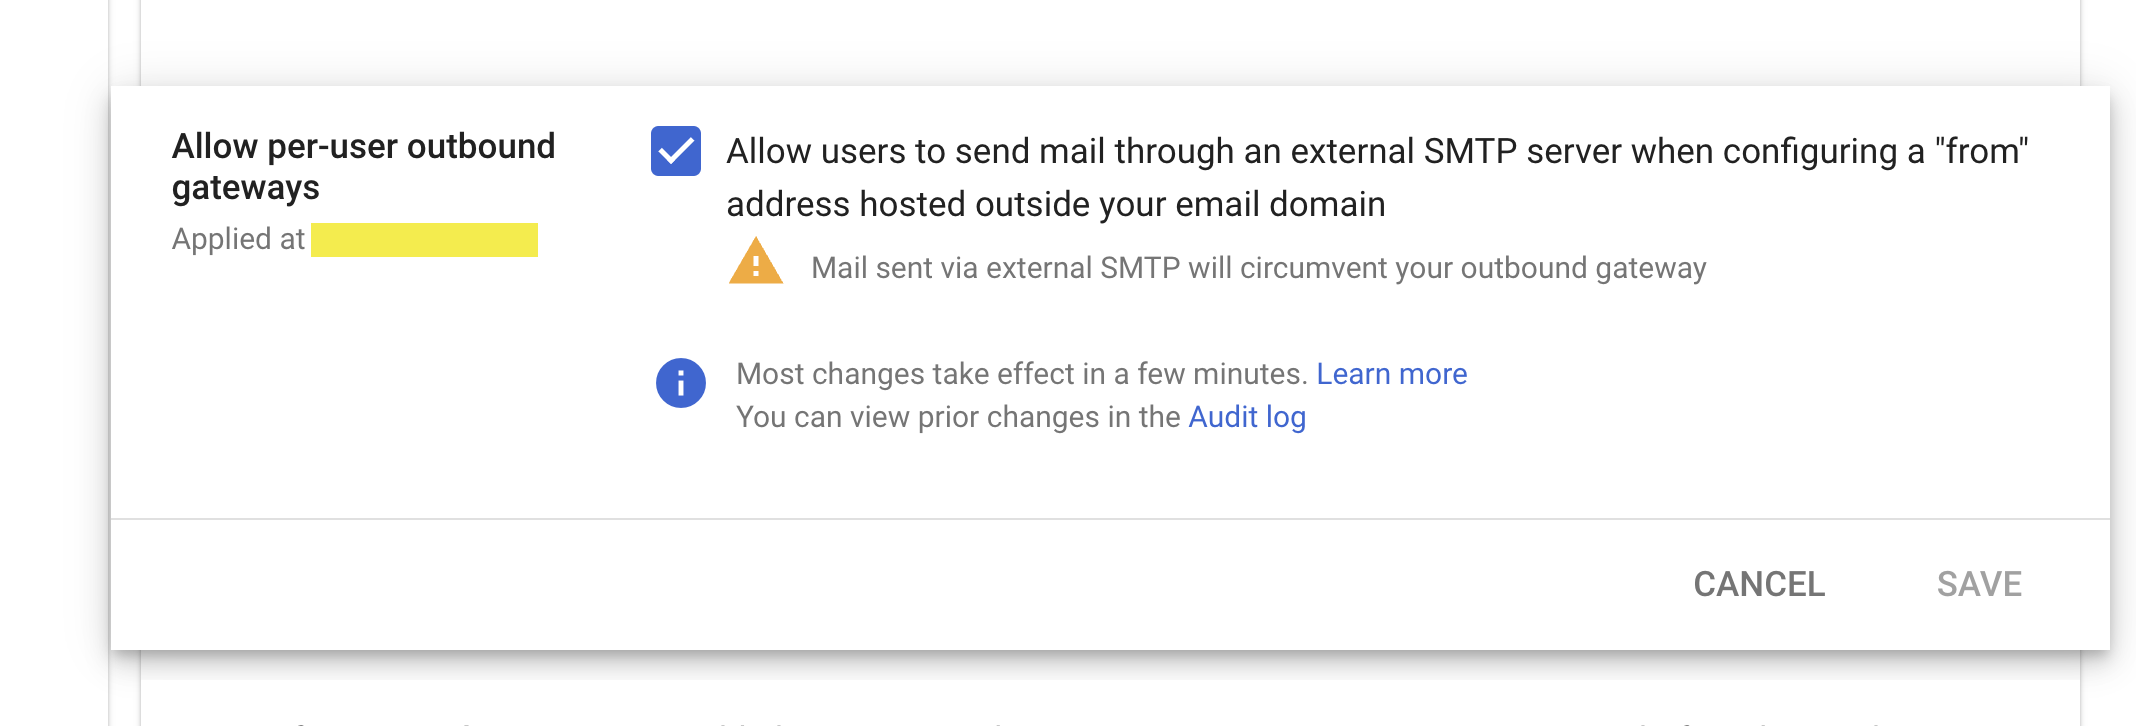
In Google Workspace settings, you need to enable a setting called "Allow per-user outbound gateways".
This will let you set different "From" addresses when sending email.
You can do that from this link: https://admin.google.com/ac/apps/gmail/enduseraccess
Set up an alias in Gmail
Now go to Gmail "Account" settings (https://mail.google.com/mail/#settings/accounts).
In the "Send mail as" section, click "Add another email address".
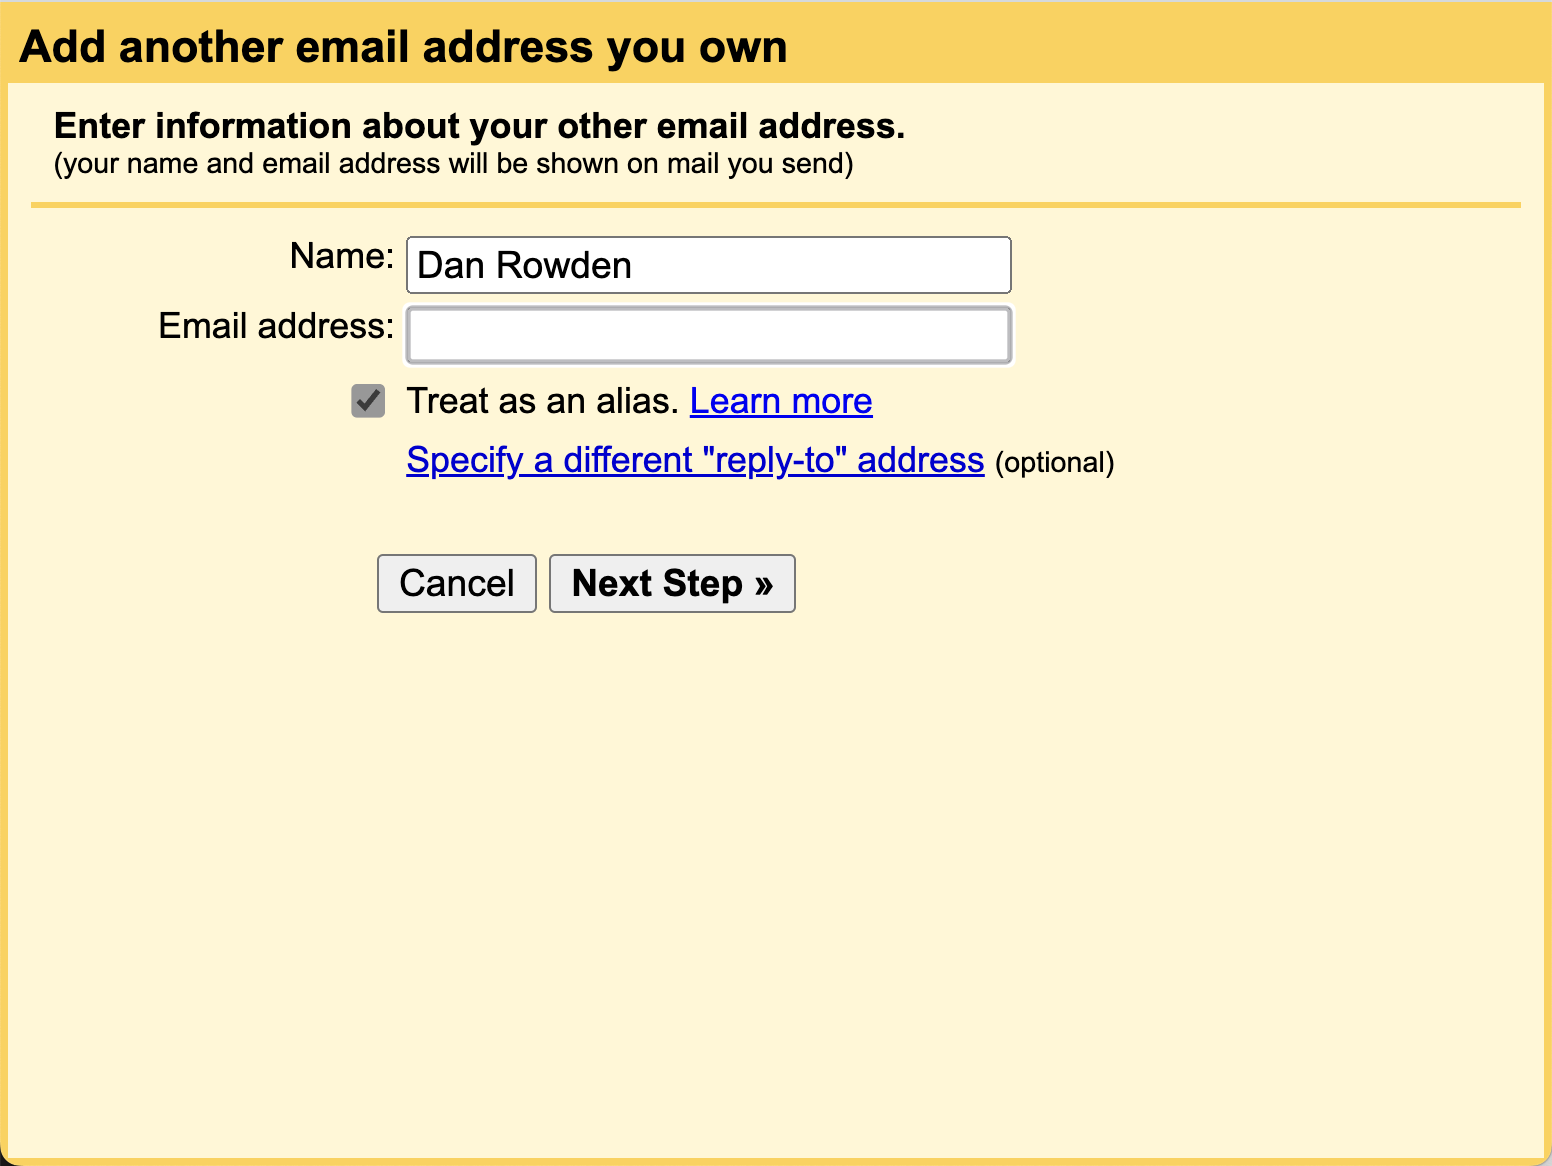
A popup will appear, which is where you can specify your email address and even a custom display name for your alias account.
Make sure the "Treat as an alias" checkbox is ticked.
Sometimes this step fails if Google hasn't set up the domain in the background yet (I think this is down to DNS propagation delays).
If it doesn't work, just come back and try 10 minutes later until it does.
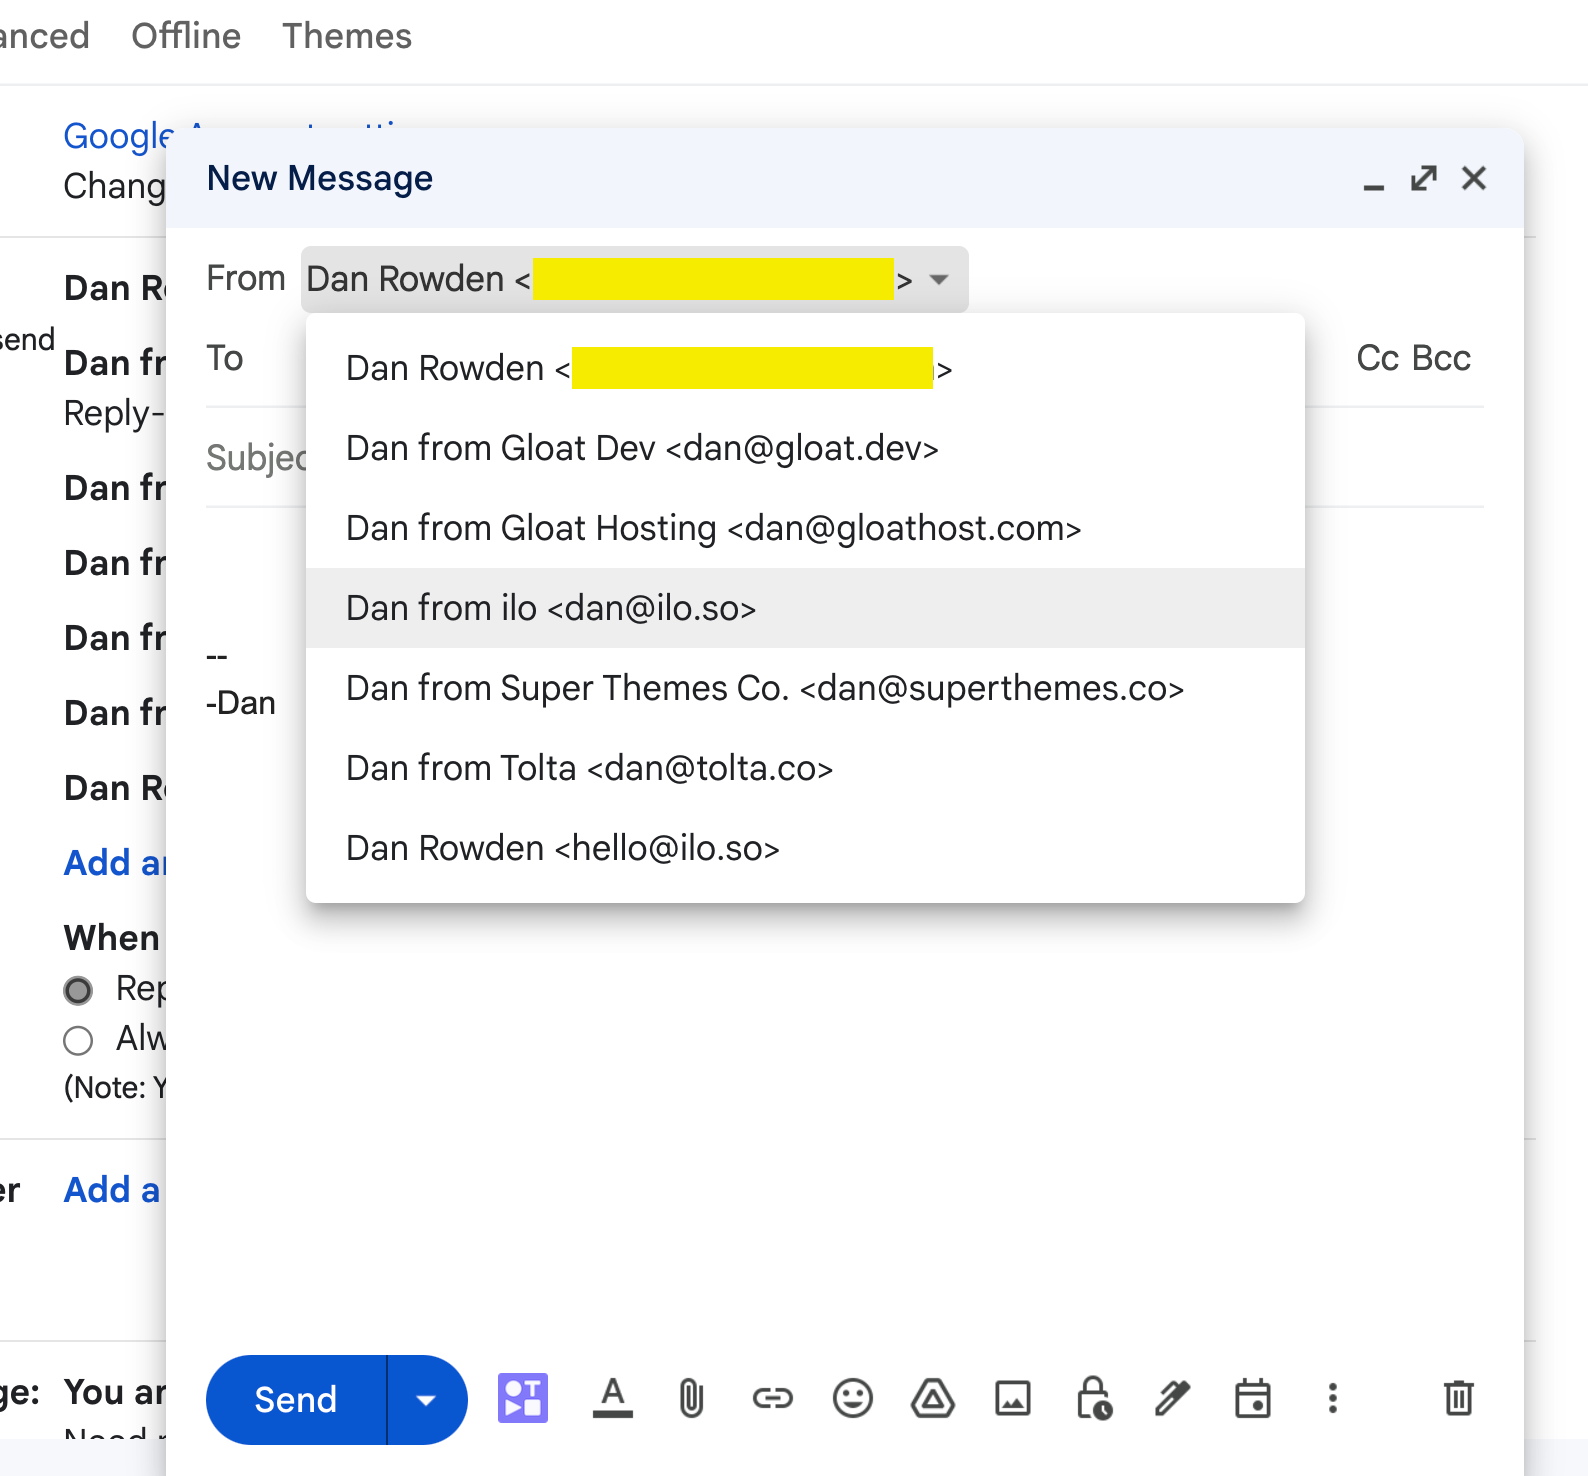
Once the form completes, you will see your new alias listed in the "Send mail as" section.
Now when you send email (in Gmail as well as any other email client) you will see an option to pick a sending address.
Subscribe to the newsletter
Join 90+ members and get my new blog posts in your inbox.
Comments
Please subscribe or sign in to join the conversation!